
In this post , we will show you how to build a complete authentication system in Laravel 12 – including login, register, and logout – step by step.
prerequisites:
- Fresh Laravel Installed // to install
- laravel use composer create-project laravel/laravel auth-demo
- Database ready
- Composer installed
- A Active MySQL database
- Some basic php and Laravel knowledge
Setup Laravel Project
First create fresh Laravel projects
laravel new auth-demo or composer create-project laravel/laravel auth-demo
cd auth-demo
php artisan serve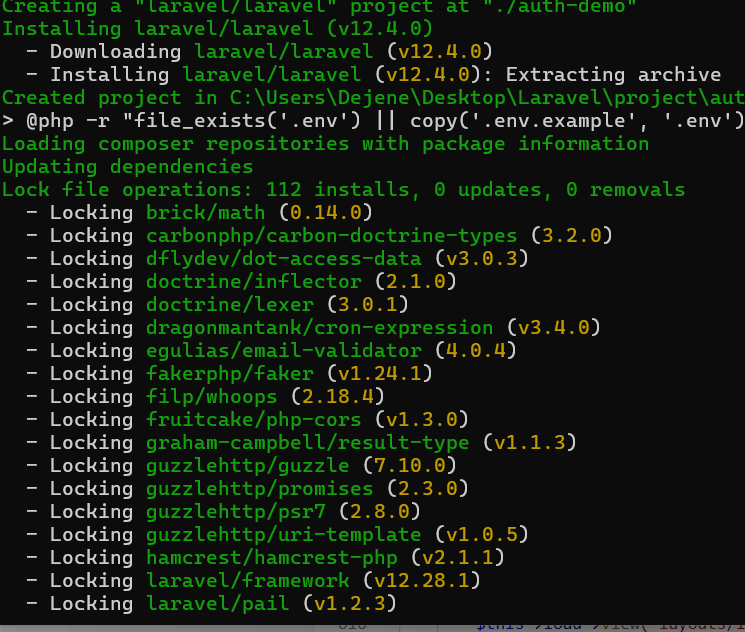
Visit by typing http://127.0.0.1:8000 in your browser to confirm Laravel is running.
Configure Database
Create new database on your local server and name it auth_db and configure it. To configure update .env file on the root directory of the project.
DB_DATABASE=auth_demo
DB_USERNAME=root
DB_PASSWORD=
Users Table & Migration
Laravel by default comes with users migration and User models.
In Laravel we use php artisan migrate to migrate.
php artisan migrate

The above command create users table on your authdb databases.
Authentication Routes & Controller
Route and Controller is the most focussed area on the Laravel development concepts.
Route: define an application how to respond incoming request.
Controller is the middle man of view and models.
Lets create Controller by the following commands.
Next, let’s create an AuthController:
php artisan make:controller AuthController
After creating Controller the update routes/web.php
<?php

use App\Http\Controllers\AuthController;
use Illuminate\Support\Facades\Route;
Route::get('/register', [AuthController::class, 'showRegister']);
Route::post('/save-users', [AuthController::class, 'register']);

Route::get('/login', [AuthController::class, 'showLogin']);
Route::post('/login', [AuthController::class, 'login'])->name('login');

Route::get('/dashboard',[AuthController::class, 'dashboard'])  ->middleware('auth')
    ->name('dashboard');

Route::post('/logout', [AuthController::class, 'logout'])->name('logout');
// waht is wrong on these
User Registration
User registration is the crud part of authentication of users.
Open app/Http/Controllers/AuthController.php and add registration logic:
<?php
namespace App\Http\Controllers;

use App\Models\User;
use Illuminate\Support\Facades\Hash;
use Illuminate\Support\Facades\Auth;
use Illuminate\Http\Request;

class AuthController extends Controller
{
    public function showRegister() {
        return view('auth.register');
    }

    public function register(Request $request) {
        $request->validate([
            'name' => 'required',
            'email' => 'required|email|unique:users',
            'password' => 'required|min:6',
        ]);

        User::create([
            'name' => $request->name,
            'email' => $request->email,
            'password' => Hash::make($request->password),
        ]);

        return redirect('/login')->with('success', 'Account created successfully!');
    }

    public function showLogin() {
    return view('auth.login');
}

public function login(Request $request) {
    $credentials = $request->only('email', 'password');

    if (Auth::attempt($credentials)) {
        return redirect('/dashboard');
    }

    return back()->withErrors([
        'email' => 'Invalid credentials',
    ]);
}
public function dashboard(){
    return view('dashboard');
}

}
Create view part
Create the registration form at resources/views/auth/register.blade.php:
In these tutorial we use bootstrap for all view parts , registeration,login and dashboard
<!doctype html>
<html lang="en">
  <head>
    <meta charset="utf-8">
    <meta name="viewport" content="width=device-width, initial-scale=1">
    <title>Laravel Auth Demo</title>
    <link href="https://cdn.jsdelivr.net/npm/bootstrap@5.3.8/dist/css/bootstrap.min.css" rel="stylesheet" integrity="sha384-sRIl4kxILFvY47J16cr9ZwB07vP4J8+LH7qKQnuqkuIAvNWLzeN8tE5YBujZqJLB" crossorigin="anonymous">
  </head>
  <body>
<div class="container">
    <div class="card">
        <div class="card-header">
            <h2>Registration Form</h2>
        </div>
        <div class="card-body">
<form action="{{ url('save-users') }}" method="post">
    @csrf
  <div class="mb-3">
    <label for="exampleInputEmail1" class="form-label">Name</label>
    <input type="text" name="name" class="form-control" placeholder="Name">
  </div>
  <div class="mb-3">
    <label for="exampleInputPassword1" class="form-label">Emaile</label>
    <input type="email" name="email" class="form-control" placeholder="Email" required>
  </div>
  <div class="mb-3">
    <label for="exampleInputPassword1" class="form-label">Password</label>
    <input type="password" class="form-control" name="password" placeholder="Password" required>
  </div>
  <div class="mb-3">
    <button type="submit" class="btn btn-sm btn-info">Save</button>
  </div>
</form>
</div>

</div>
  </body>
</html>
User Login Form/ User Login
Update AuthController
Add login logic in AuthController.php:
    public function showLogin() {
    return view('auth.login');
}

public function login(Request $request) {
    $credentials = $request->only('email', 'password');

    if (Auth::attempt($credentials)) {
        return redirect('/dashboard');
    }

    return back()->withErrors([
        'email' => 'Invalid credentials',
    ]);
}
User Logout
Add logout logic in AuthController.php:
public function logout(Request $request)
{
    Auth::logout();

    $request->session()->invalidate();
    $request->session()->regenerateToken();

    return redirect('/login'); // or wherever you want
}
To get dashboard after login create view blade template.
Add a logout button in resources/views/dashboard.blade.php:
<form method=”POST” action=”{{ route(‘logout’) }}”>
@csrf
<button type=”submit”>Logout</button>
</form>
Dashboard (Protected Route)
Create a simple dashboard view in resources/views/dashboard.blade.php:
    <link href="https://cdn.jsdelivr.net/npm/bootstrap@5.3.8/dist/css/bootstrap.min.css" rel="stylesheet" integrity="sha384-sRIl4kxILFvY47J16cr9ZwB07vP4J8+LH7qKQnuqkuIAvNWLzeN8tE5YBujZqJLB" crossorigin="anonymous">
<div class="container">

<div class="card">

  <div class="card-header">
    Dashboard
  </div>
  <div class="card-body">
    <h5 class="card-title">Welcome back, {{ Auth::user()->name; }}</h5>
    <p class="card-text">Thank for using these App.</p>
    <a href="#" class="btn btn-primary">Go somewhere</a> <br>

 <form action="{{ url('logout') }}" method="POST" style="display: inline;">
    @csrf
    <button type="submit" class="btn btn-danger">Logout</button>
</form>
  </div>
</div>
</div>
<h1>Welcome, {{ Auth::user()->name }}</h1>
<p>You are logged in!</p>
Protect it using middleware in routes/web.php:
Route::get('/dashboard',[AuthController::class, 'dashboard'])  ->middleware('auth')
    ->name('dashboard');
If you need full code
Github view source codeLaravel Auth-system Install steps
Installation Steps
1. CLone the project
2. Extract the project
3. on auth-demo
composer update // to install all packages.
4. php artisan migrate // to generate migrations.
5. run the server by type :// php artisan serve